This 2 step tutorial will explain how to register in Auth0 and setup User Login for SPA application. The tutorial explains the steps in React but can be substituted with Angular, Vue or any Javascript framework
Step 1: Auth0 registration
Step 2: User login setup using React

Sign Up for an account in Auth0. Create a new application by following the steps provided below.
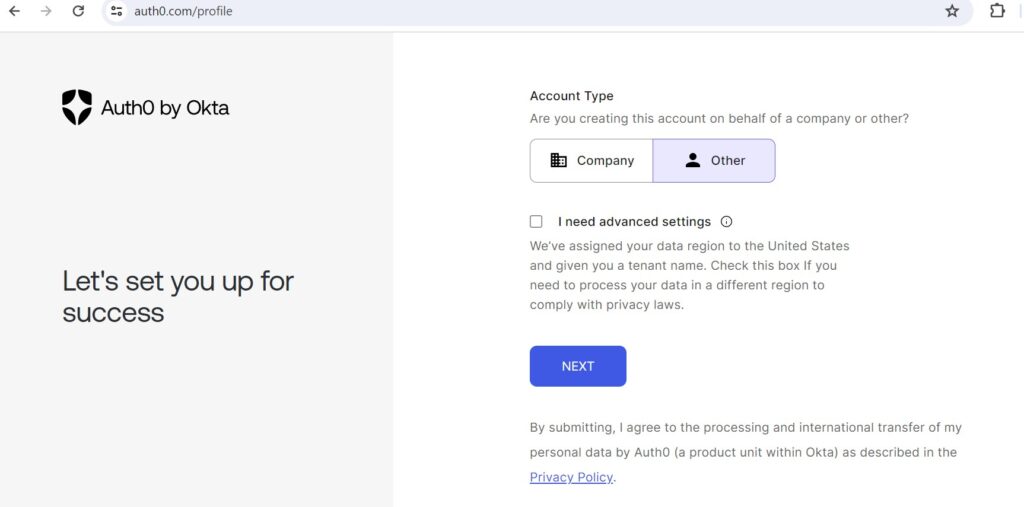
Choose Company/Other based on your requirements
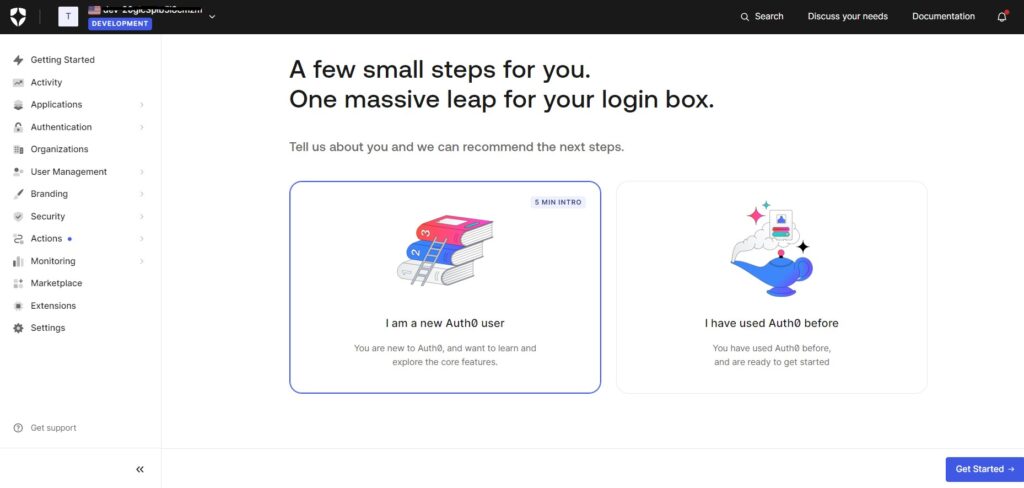
Select I am a new Auth0 user
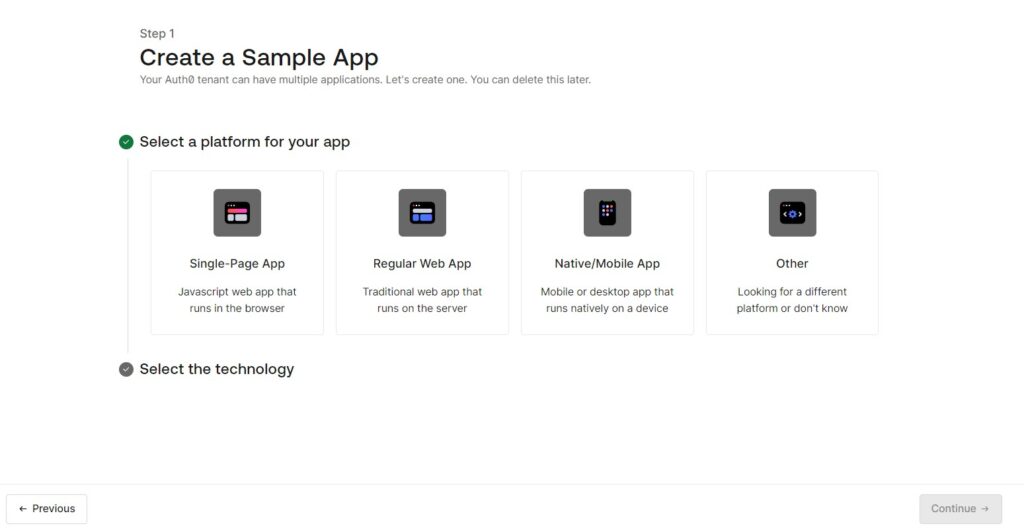
Select Single-Page App
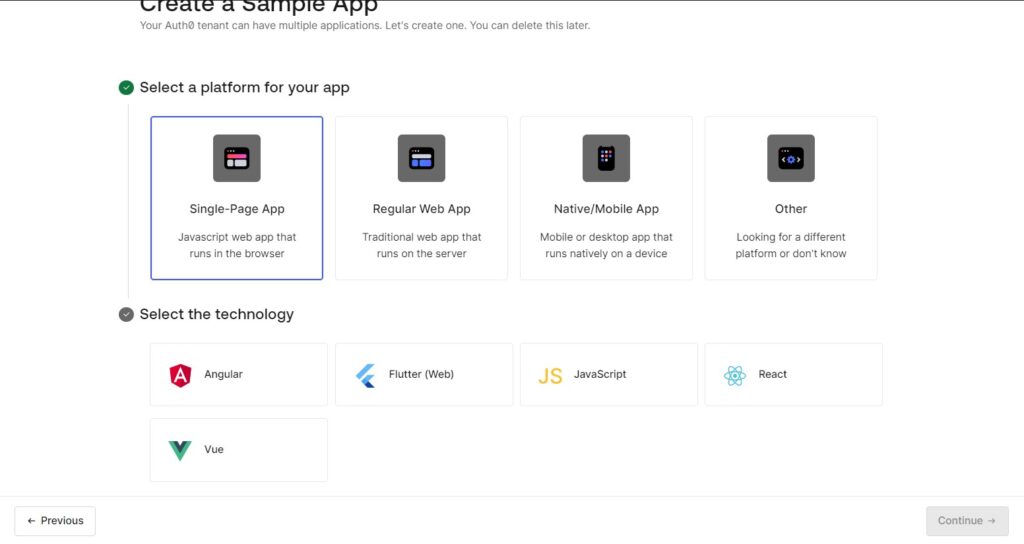
Choose the technology based on your requirements
Select the Social Connections if any that you would like to use as sign in. If you are not planning to use Social connections as sign in then leave it unselected. This option can be configured later even after creating the application if you have not decided yet.
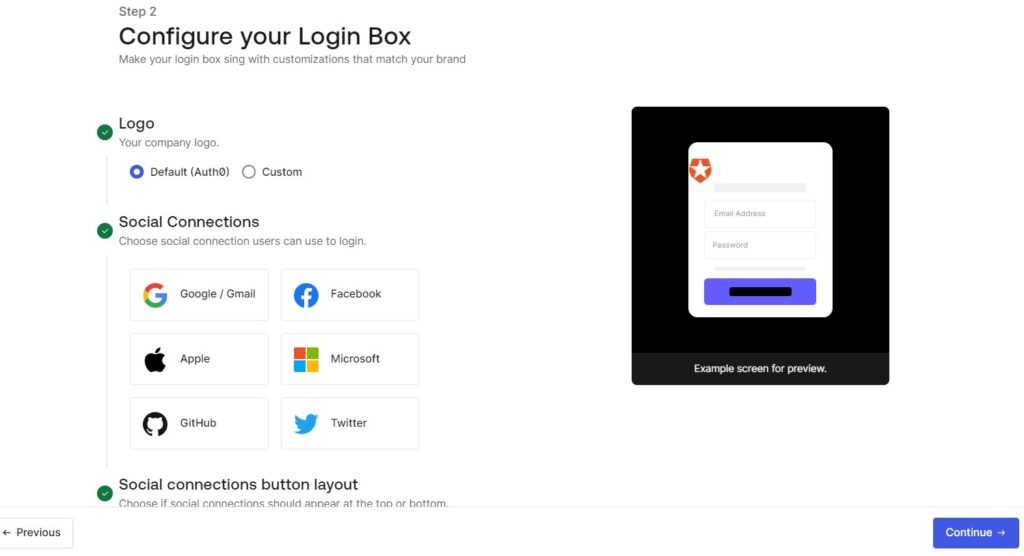
Enable User Id and Password option if you would like your users to authenticate using ID and Password.This option can be configured later even after creating the application if you have not decided yet
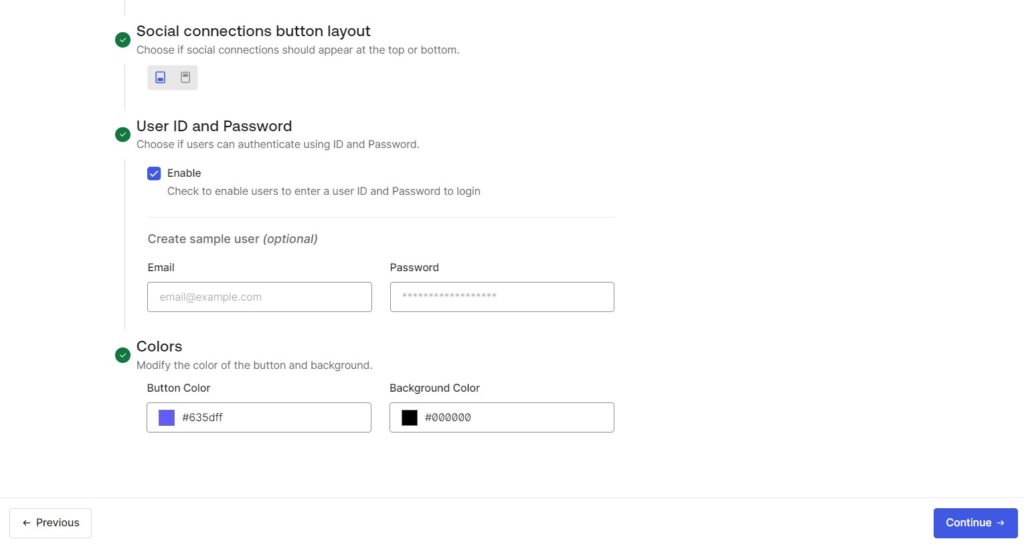
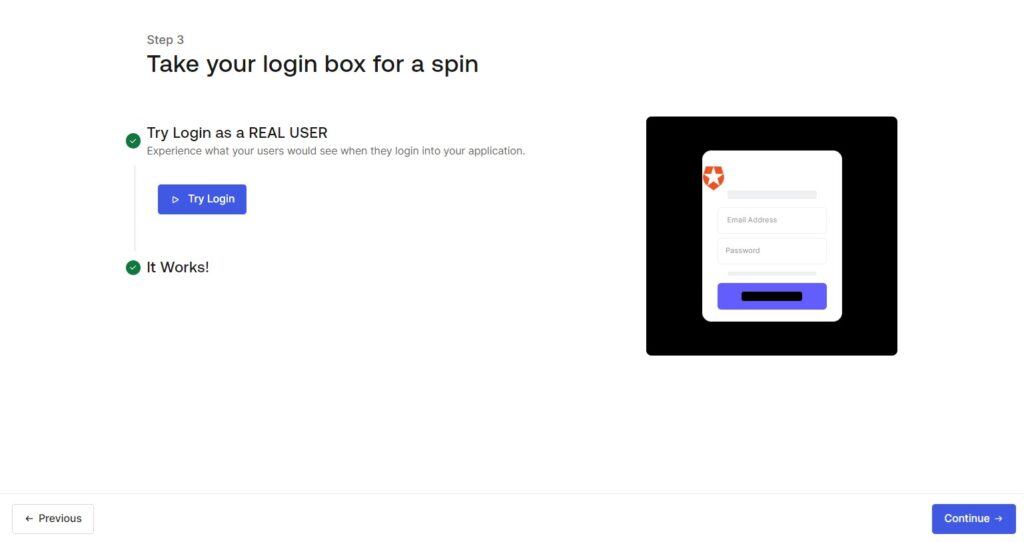
Click on Continue
The newly created application can be viewed from the Applications left navigation.
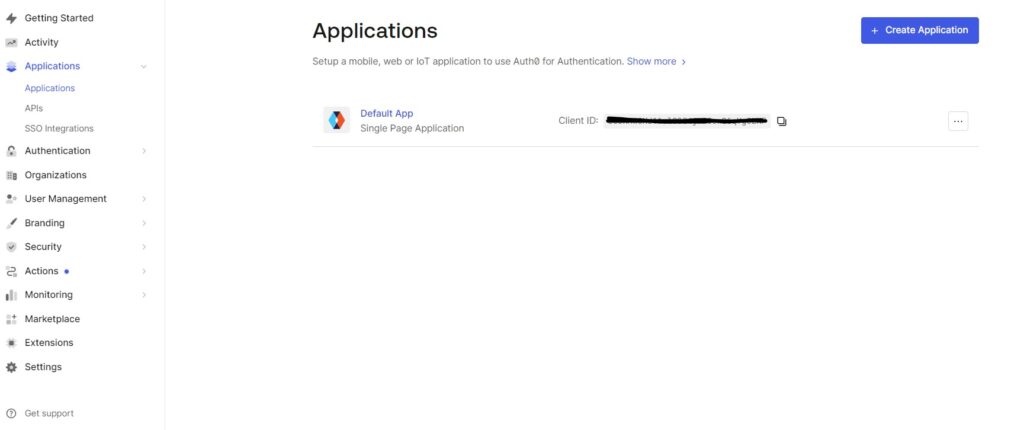
Click on the new application and navigate to the second tab Settings to view the Domain/Client Id which will be used in the code.
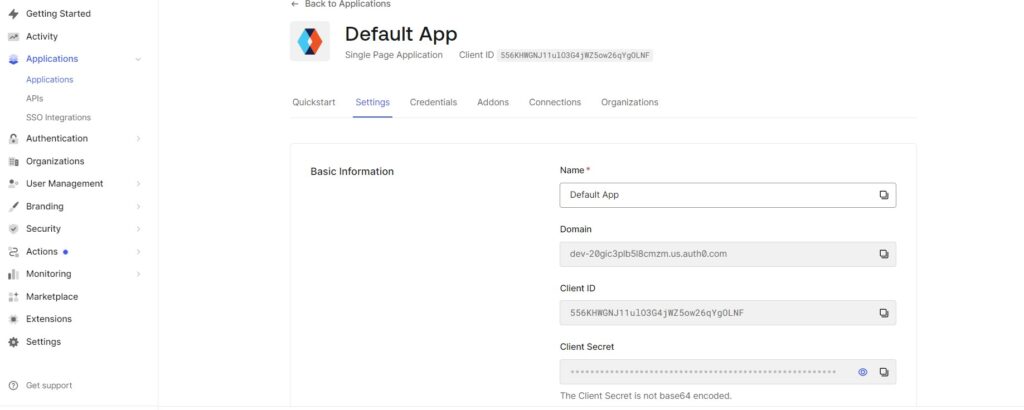
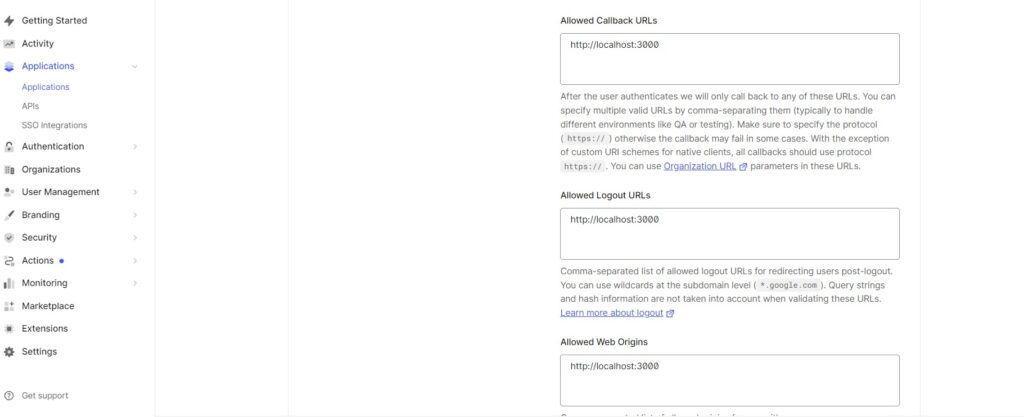
Scroll down to enter the Allowed Callback Urls, Allowed Logout Urls and Allowed Web Origins.
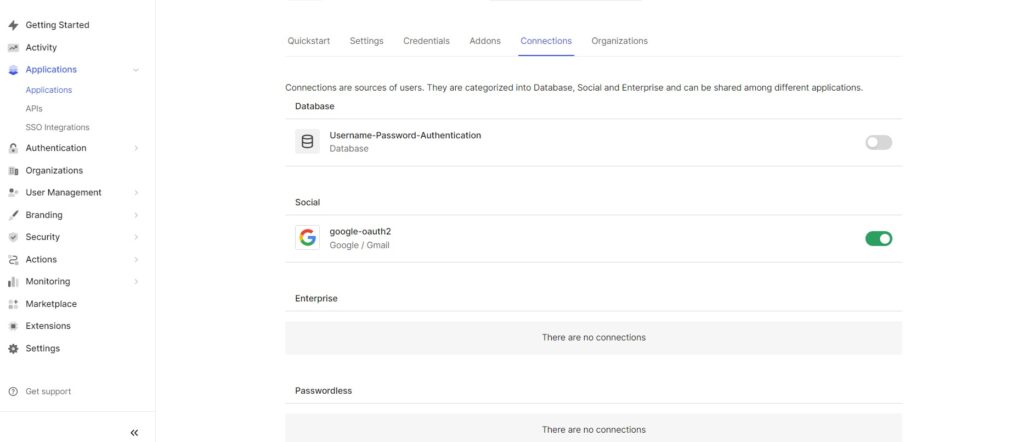
Navigate to the 5th tab Connections to configure all the allowed sign-in connections for the application. Auth0 offers multiple options for authentication
- Username-Password-Authentication using database
- Any social connections
- Enterprise connections like using SAML, OIDC etc
- Passwordless
We will have a separate post on how to configure the different types of authentication. For now, we have selected the google social connection as the authentication method which does not need any further configuration or setup.
That is the end of the Step 1 of the tutorial. We will look into the user login setup using React in the next step.
Hi, I wish for to subscribe for this weblog to take hottest updates, so where can i do it please assist.